If you just received a 2D drawing that says “wire harness” and you’re not sure how to translate it into a manufacturing-ready RFQ, this is the right place to start.
Quick Answer: A wire harness is an organized assembly of wires, terminals, connectors, and protective sleeving that routes power and signals inside equipment. Before contacting a supplier, you must define the quantity, AWG size, connector plating, length tolerances, and IPC-A-620 test standards. Missing any of these details will lead to delayed quotes, over-engineered costs, or harness failures in the field.
What a Wire Harness Actually Is
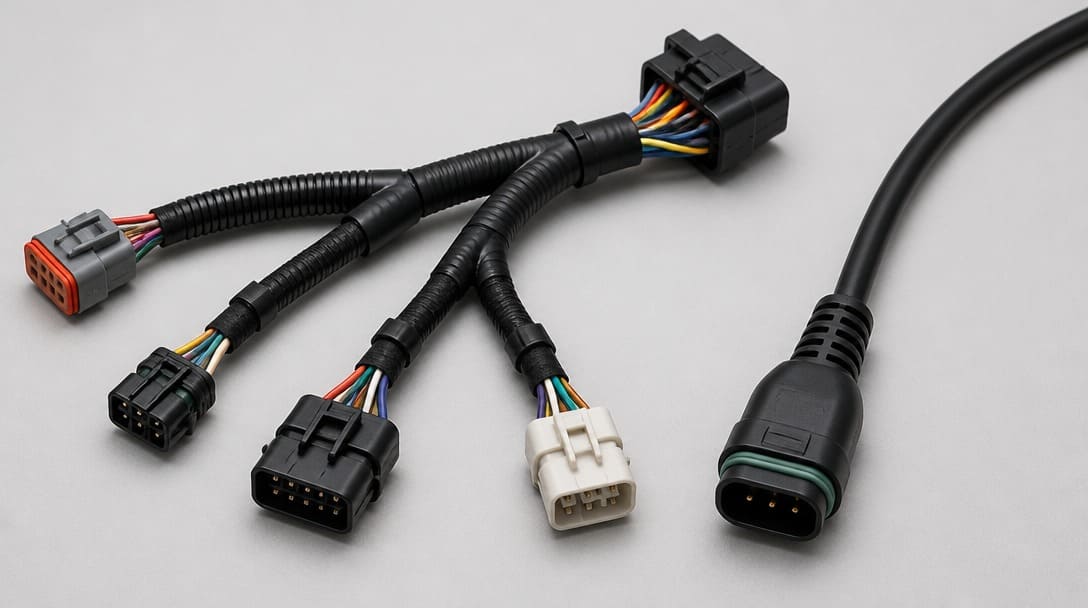
A wire harness is a bundle of individual wires or cables cut to specific lengths, terminated with connectors or terminals, and bound together with ties, sleeving, or conduit into a single organized assembly. The purpose is straightforward: instead of routing dozens of loose wires one by one inside a machine, vehicle, or enclosure, a harness consolidates them into a single installable unit that follows a defined path and connects at predetermined points.
Every wire harness contains several essential components, and understanding each one makes the quoting process far smoother: the wires, terminals, connectors, protective sleeving, and labels all play a part. For a comprehensive overview, refer to our article on what a wiring harness is and its key components, functions, and applications.
- Conductors — The copper wires that carry current or signals, specified by American Wire Gauge (AWG) size. A smaller AWG number indicates a thicker wire capable of handling higher current. The conductor material (bare copper or tinned copper) and strand count also affect flexibility and corrosion resistance.
- Terminals — Metal contacts crimped or soldered onto the stripped wire ends. Crimping is the dominant method in production environments because it creates a consistent, gas-tight mechanical and electrical connection when performed with calibrated tooling.
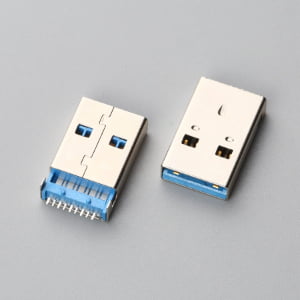
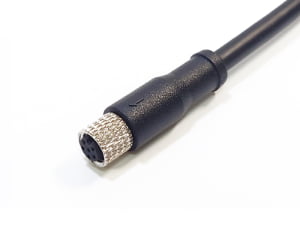
- Connectors — Plastic or metal housings that hold terminals in position and provide a mating interface. Connectors are specified by manufacturer series, pin count, gender, pitch, and plating material. Getting this detail wrong means the harness won’t plug into its target device.
- Protective sleeving — Braided loom, heat-shrink tubing, spiral wrap, or adhesive tape that shields wires from abrasion, heat, chemicals, and mechanical stress. The choice depends on the operating environment.
- Labels and markers — Printed heat-shrink labels, adhesive tags, or laser-marked identifiers that ensure every wire and connector can be traced during installation, testing, and field service.
- Shielding and Drain Wires — Essential for high-frequency data routing or environments with heavy EMI/RFI (Electromagnetic Interference). Copper braid or aluminum foil shields protect signal integrity, while drain wires provide a reliable path to ground.
Wire harnesses appear inside industrial equipment, automotive modules, medical devices, household appliances, and electronics cabinets — anywhere multiple wires need organized routing that simplifies assembly and reduces wiring errors on the production floor.
Wire Harness vs. Cable Assembly: Understanding the Difference
This is the single most common source of confusion among first-time buyers. A wire harness and a cable assembly are not the same thing, and ordering the wrong one creates compatibility problems that ripple through an entire project. The distinction comes down to where the assembly is used and what it protects against.
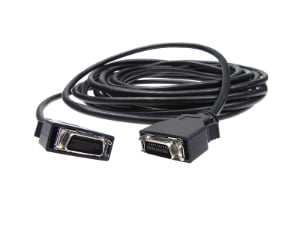
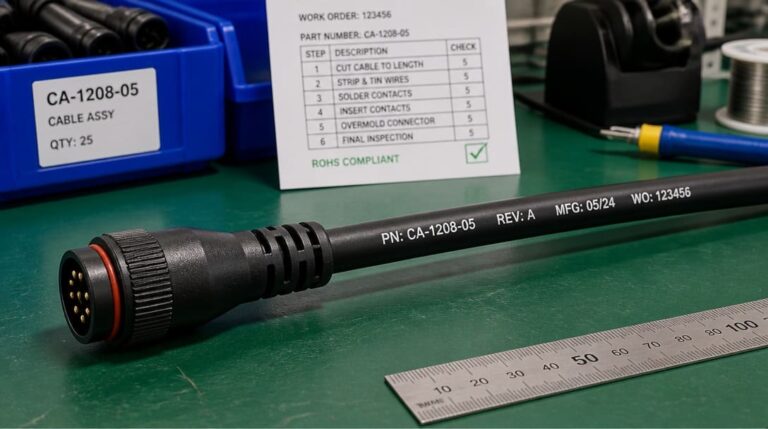
A wire harness is designed for internal routing — think inside a control cabinet, behind a vehicle dashboard, or within an equipment chassis. It organizes multiple individual wires, often with branches going to different connection points, and provides basic mechanical protection through sleeving and bundling. A cable assembly, by contrast, is built for external connections — linking two devices together, often through harsh or exposed environments, with a rugged outer jacket and frequently overmolded connectors for strain relief and sealing.
| Feature | Wire Harness | Cable Assembly |
|---|---|---|
| Primary application | Internal wire routing within equipment | External device-to-device connections |
| Branch structure | Multiple branches to different endpoints | Typically single path, occasionally two branches |
| Environmental protection | Basic — loom, tape, conduit | High — rugged jacket, overmolding, sealing |
| Governing workmanship standard | IPC/WHMA-A-620[1] (crimping, routing, soldering) | Often governed by the same IPC/WHMA-A-620 plus connector-specific overmold specs |
| Connector style | Multiple single or multi-pin connectors, often unsealed | Overmolded, sealed, or ruggedized connectors |
| Typical production volume | Varies widely; harnesses are often project-specific | Standard cable assemblies may have higher repeat volumes |
If the drawing shows multiple breakout points, branches of different lengths, and individual wires running to different connector positions, it is almost certainly a wire harness. If the drawing shows a single cable with a connector at each end and an outer jacket, it is likely a cable assembly. When in doubt, suppliers such as EDOM Electronics can review the drawing and confirm which category the project falls into — an important clarification that prevents quoting the wrong manufacturing process.
Why Wire Harnesses Require More Upfront Information Than You Might Expect
A common reaction from buyers new to wire harness procurement is surprise at how many questions a supplier asks before providing a quote. The perception is understandable: a harness looks like wires tied together, so why the extended information-gathering process?
The reality is that a wire harness is not a commodity. Every harness is a custom assembly built to a specific drawing, and small variations in specification can shift the unit cost significantly. Suppliers are not being difficult when they ask for details — they are protecting the buyer from receiving a price that will need to be revised later.
Quantity changes everything. In our experience, the first inquiry from a new buyer almost always arrives without a quantity. Without that one number, we can’t give a meaningful price — material costs shift significantly between 50 units and 500. At 50 units, the buyer pays prototype-level pricing for materials purchased in small reels, plus setup charges amortized across a tiny batch. At 500 units, the same harness benefits from full-reel pricing, optimized production flow, and setup costs distributed across a meaningful run. The difference can be substantial, and no supplier can guess which scenario applies without a quantity range.
Wire gauge and insulation must be exact. AWG (American Wire Gauge) determines current capacity, while insulation dictates environmental resilience. Use this quick reference matrix:
| AWG Size (Typical) | Current Capacity | Best Application | Recommended Insulation |
|---|---|---|---|
| 10 – 14 AWG | 15A – 30A | Power distribution, Motors | XLPE or Silicone (High Heat) |
| 16 – 18 AWG | 10A – 16A | Standard chassis wiring | UL1015 (600V, 105°C PVC) |
| 20 – 24 AWG | 3.5A – 7A | Low-current signals, Sensors | UL1007 (300V, 80°C PVC) |
Connector plating is a primary cost lever. Do not simply list a connector housing part number; you must specify the terminal plating based on your application’s electrical demands:
| Terminal Plating | Best For (Application) | Voltage/Current | Relative Cost |
|---|---|---|---|
| Tin (Sn) | Static connections, High mating force | > 5V, High Current | Low (Economical) |
| Gold (Au) | Frequent mating, Harsh environments | < 5V (Dry circuits), Low Current | High (Premium) |
Color requirements carry cost implications. Standard colors (red, black, white, green, blue, yellow) are typically available from stock with no premium. Custom colors, multi-color stripes, or printed identification text add processing steps and material costs. If the application only needs functional differentiation, standard colors keep the harness more economical. If brand identity or specific industry conventions demand custom coloring, the buyer should expect that to be reflected in the quote.
Real-World Example (Case Study): An OEM client recently submitted a 2D drawing for an industrial controller harness that lacked specific connector plating and tolerance specs. By conducting a pre-quote DFM (Design for Manufacturability) review, EDOM’s engineering team identified that the default premium gold-plated terminals requested were unnecessary for their 24V power circuit. By recommending standard tin-plated alternatives and defining proper routing tolerances, we helped the client save 18% in material costs and reduced the lead time by 2 weeks—all before the first prototype was built.
What Information Suppliers Actually Need to Quote Accurately
Based on the variables described above, here is a practical checklist to prepare before sending a wire harness RFQ. Providing these details upfront reduces back-and-forth and produces a more reliable quote faster:
- Quantity — Exact target quantity, or at minimum an MOQ range (e.g., 100–250 units for pilot, 500–1,000 for production).
- Wire gauge and construction — AWG size, strand count (e.g., 7/0.20mm), insulation material (e.g., UL1007 PVC), conductor plating (bare copper or tinned). For automotive projects, note if SAE J1128 compliance is required.
- Connector part numbers — Manufacturer series, pin count, gender, and plating specification (e.g., Molex 43045 series, 4-pin, male, tin-plated contacts). Include the mating connector part number if known, as it helps verify compatibility.
- Color requirements — List wire colors by function or circuit. Specify if standard stock colors are acceptable or if custom colors, stripes, or printing are required.
- Test requirements — At minimum, continuity testing is standard. Additional requirements such as hi-pot (high-potential) testing, insulation resistance measurement, or specific inspection criteria per IPC/WHMA-A-620 must be stated upfront because they add process steps and influence the quote.
- 2D drawing or schematic — A dimensioned drawing showing wire routing, branch lengths, connector positions, and any special forming or orientation requirements. Even a clear hand sketch with measurements is better than a verbal description.
- Target budget (optional but helpful) — If a cost target exists, sharing it allows the supplier to recommend alternative connectors or wire types that may achieve similar performance within the budget constraint.
- Length and Breakout Tolerances — A drawing without tolerances cannot be manufactured accurately. Specify acceptable +/- tolerances for the overall length and each individual breakout branch. Tighter tolerances increase manufacturing time and cost.
- Environmental and Ingress Protection (IP Rating) — Specify if the harness will be exposed to extreme heat, chemicals, or moisture. This determines if standard PVC is sufficient, or if PTFE, Silicone, or sealed IP67/IP68 connectors are required.
Suppliers such as EDOM Electronics work with OEM buyers to review these specifications, verify connector availability, and identify any potential issues — such as an obsolete connector part number or a wire gauge that cannot carry the required current — before quoting, which prevents costly surprises after the order is placed.
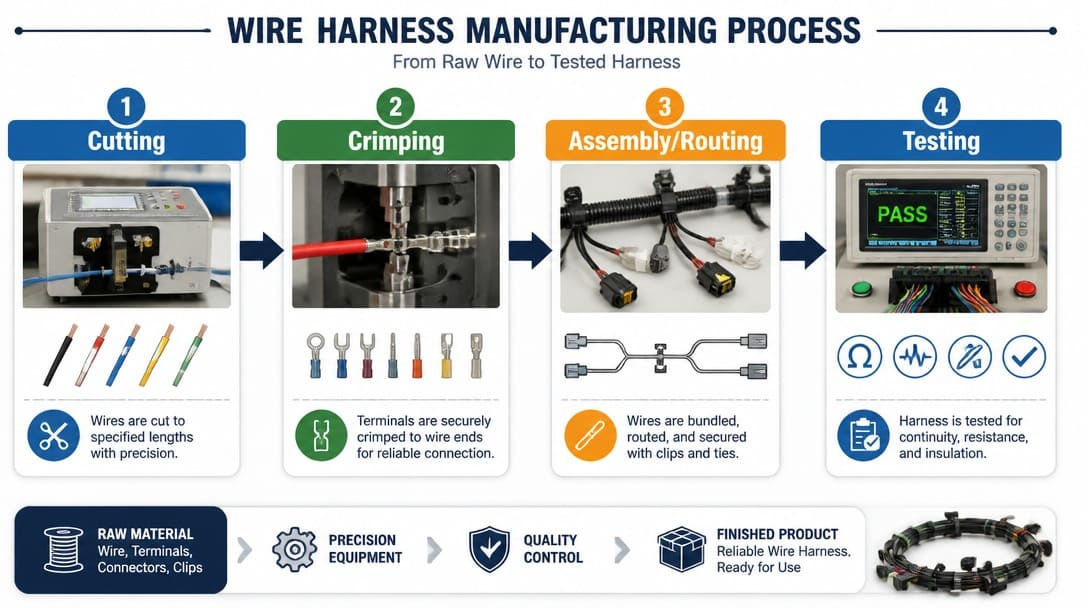
How Wire Harnesses Are Manufactured (And Why It Matters for Your Quote)
Understanding the basic production sequence helps buyers appreciate why lead times exist and where cost is concentrated. A wire harness is not assembled in a single operation; it moves through multiple stations, each adding labor, material, and quality verification.
- Cutting and stripping — Wires are cut to the specified lengths from bulk reels using automated cutting-and-stripping machines. The insulation is stripped from each end to expose the conductor for termination. Accuracy at this stage determines whether connectors will seat properly.
- Crimping terminals — Terminals are attached to the stripped wire ends using crimping presses with application-specific tooling. Crimp height, pull force, and visual inspection criteria are defined by IPC/WHMA-A-620 workmanship standards. In some cases, soldering is specified instead of crimping, typically for applications with specific thermal or mechanical requirements.
- Inserting terminals into connector housings — Crimped terminals are inserted into their assigned cavities within the plastic connector housing, following the pinout diagram. A proper insertion produces an audible click as the terminal locks into place. Incorrect insertion leads to backed-out terminals and intermittent connections.
- Routing and forming — Wires are laid out on a form board — a physical template with pegs that defines the exact routing path and branch lengths. The operator routes each wire along the board and secures the bundle at junction points, ensuring consistent geometry from one harness to the next.
- Applying protective sleeving — Braided loom, heat-shrink tubing, spiral wrap, or fabric tape is applied over the wire bundle according to the drawing. The type and coverage area of protection directly affect material cost and labor time. Full-coverage braided sleeving takes longer to install than spot-applied tape.
- Labeling and bundling — Identification markers are applied to wires and connectors according to the labeling specification. Cable ties, clips, or clamps are installed at designated positions to maintain the harness shape during handling and installation.
- Testing — Every harness undergoes continuity testing to verify that each wire connects the correct two points with no opens or shorts. Depending on the specification, additional electrical tests such as hi-pot testing may be performed. Visual inspection against IPC/WHMA-A-620 criteria checks for proper crimp formation, correct terminal seating, and overall workmanship. For projects requiring documented inspection reports, these are prepared at this stage. More detail on inspection protocols is covered in our quality inspection and export packaging overview.
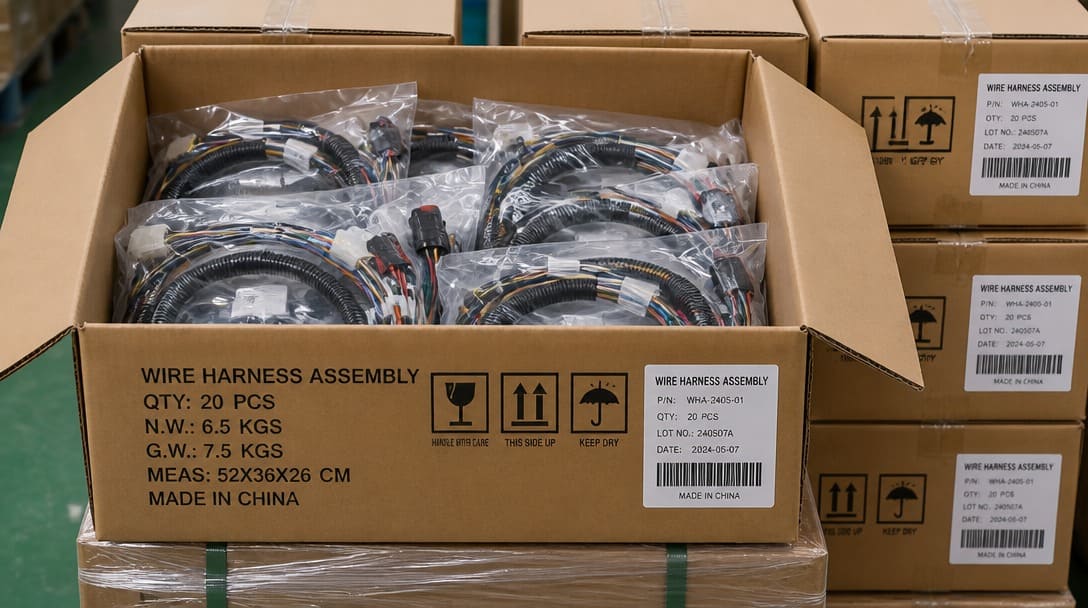
- Final inspection and packaging — Harnesses receive a final appearance check and are packaged for shipment. Export-ready packaging typically involves individual polybagging, protective carton inserts, and RoHS compliance labeling where applicable. The packaging specification is agreed upon during the quoting phase, as it affects both unit cost and freight dimensions.
Each step involves setup, tooling, labor, and quality checks. At low quantities, setup and first-article inspection time dominate the unit cost. As volume increases, those fixed costs are distributed across more units, and the per-unit price decreases accordingly. A supplier that walks through these cost drivers transparently is far more valuable than one that simply quotes a number with no explanation.
Frequently Asked Questions
What is the typical lead time for a custom wire harness prototype?
For standard PVC harnesses using readily available connectors (like common Molex, TE, or JST series), prototypes can typically be produced in 2 to 3 weeks. However, if your design specifies proprietary or sealed automotive connectors, lead times can extend to 6-8 weeks due to component sourcing.
What is the standard cost breakdown of a custom wire harness?
While every project is unique, materials (connectors, terminals, and wire) typically account for 50-60% of the cost. Labor (cutting, stripping, crimping, and routing) makes up 30-40%. Testing and packaging account for the remainder. Optimizing your connector choices and standardizing wire colors are the fastest ways to reduce the BOM cost.
What format should I use for my wire harness drawing?
A standard 2D PDF drawing detailing the schematic, bill of materials (BOM), pinouts, lengths, and tolerances is the industry standard. While 3D CAD files (STEP/IGES) are helpful for visualizing routing within your enclosure, the 2D PDF is what manufacturers use to build the physical form board and quote the assembly.
Next Steps: From Your Drawing to Production-Ready Harness
Moving from a drawing to a manufactured wire harness does not need to be overwhelming. The process becomes manageable when approached methodically:
- Confirm the assembly type — Determine whether the drawing represents a wire harness (internal routing, multiple branches) or a cable assembly (external connection, rugged jacket). This single clarification avoids quoting the wrong manufacturing process from day one.
- Compile the specification checklist — Gather quantity, wire specs, connector part numbers with plating, color requirements, and test standards. Even partial information is better than none, as it lets the supplier begin the review and identify gaps systematically.
- Share documentation with a supplier that offers design-for-manufacturing review — A capable partner will check connector availability, verify wire gauge suitability, confirm that the specified components are in active production, and flag any potential issues before committing to a quote.
- Expect transparent cost discussions — Higher unit costs at low volumes are normal due to setup and material minimums. A supplier that explains these drivers helps the buyer make informed decisions about order quantities and specification trade-offs.
For a deeper dive into the full production flow — from prototype validation through pilot runs to full-scale manufacturing — read our detailed guide on wire harness manufacturing. Understanding the sequence of steps that follow the quote helps set realistic expectations for lead times and quality deliverables.
Suppliers such as EDOM Electronics support OEM buyers through the entire process — from drawing review and connector matching to sample coordination, production follow-up, continuity testing, appearance inspection, RoHS-compliant material verification, and export-ready packaging. Explore custom cable assembly and wire harness OEM services to discuss your specific project requirements.
-300x300.jpg)