Quick Answer
The wire cutting process is the foundational first step in custom wire harness manufacturing. It involves feeding conductor spools through high-precision automated cutting and stripping machines to measure exact circuit lengths, cut the wire, and strip the outer insulation without damaging copper strands. Precision in this phase directly determines terminal crimp quality, branch length tolerances, and overall harness assembly fit within OEM enclosures. For high-reliability applications (IPC Class 2 & 3), cutting parameters must strictly comply with IPC-A-620 standards to prevent strand nicking and electrical insulation degradation.
Overview: Why Wire Cutting Precision Matters in Harness Manufacturing
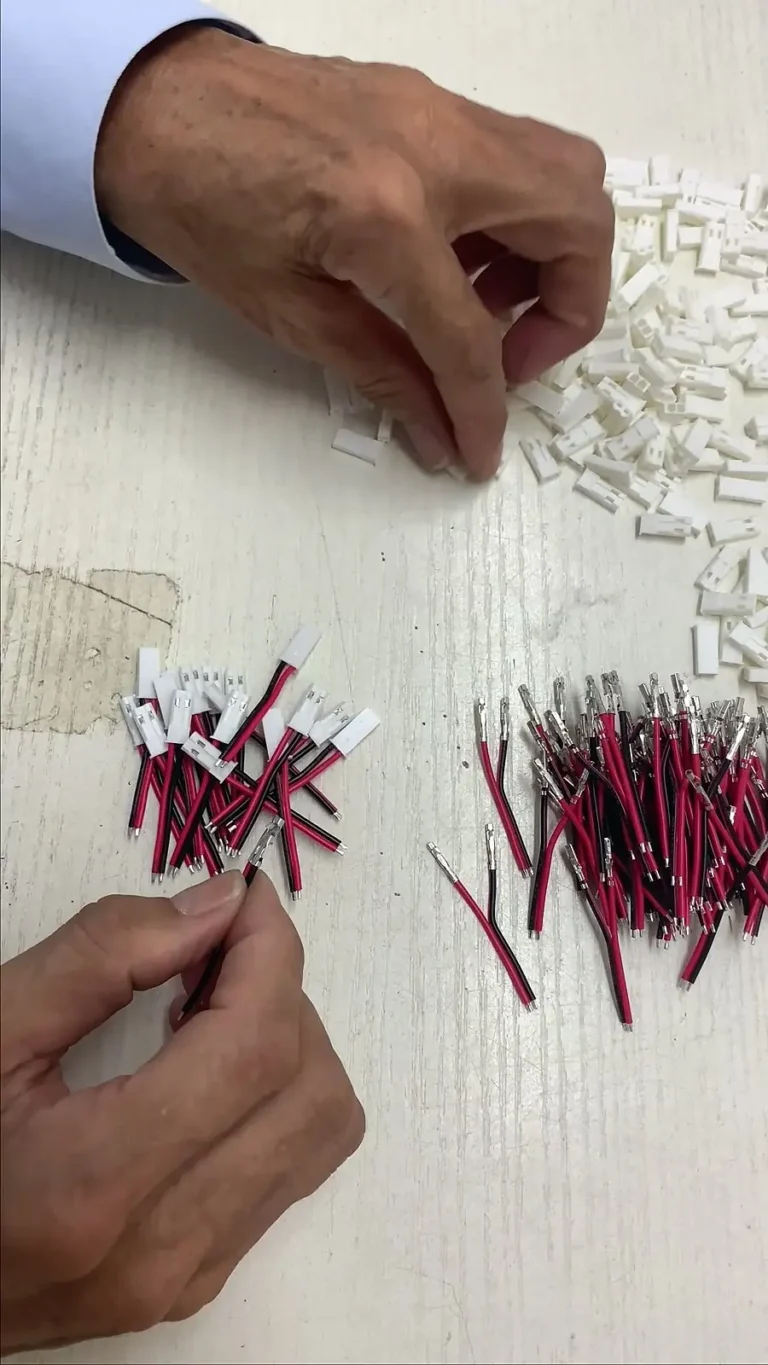
Before terminals can be crimped or circuits routed on assembly boards, raw conductor wire must be converted from continuous bulk spools into discrete, pre-measured leads. In custom OEM wire harness production, wire cutting is almost always combined with insulation stripping in a single automated operation (Cut-Strip-Terminate or Cut-and-Strip).
Although conceptually simple, wire cutting dictates the physical geometry of the entire harness. A length variation as small as 2 mm can cause tight wire strain on connector pins, leading to intermittent open circuits under vibration. Conversely, excess wire length leads to wire bunching, interference with enclosure doors, and higher material waste across large production runs.
Looking for a macro view of complete wire harness sourcing, DFM cost-saving guidelines, and RFQ requirements? Read our primary Wire Harness Sourcing, DFM, and Quoting Guide.
Equipment Classification: Mechanical V-Blades vs. Rotary vs. Laser Stripping
Modern wire harness manufacturing relies on three distinct cutting and stripping technologies based on wire gauge, insulation material, and required precision:
| Cutting & Stripping Technology | Mechanism & Operation | Best Suited Wire Types | Key Advantages & Limitations |
|---|---|---|---|
| V-Blade Mechanical Cut & Strip | Opposing V-shaped carbide blades cut the insulation jacket to a pre-set radius before pulling off the slug. | Standard PVC, XLPE, and UL1007/UL1015 hookup wire (AWG 10 to AWG 30). | Pros: Extremely high speed (up to 5,000 pcs/hr), highly cost-effective. Cons: Potential strand nicking if blade depth is incorrectly calibrated. |
| Rotary Blade Stripping | Precision rotating blades score the insulation around the circumference without touching inner conductors. | Coaxial cables, multi-conductor shielded cables, rubber/silicone jackets. | Pros: Clean 360-degree radial cuts on tough insulation. Cons: Slower cycle time; requires specialized tooling setup. |
| Laser Wire Stripping | CO2 or fiber laser beam vaporizes non-metallic insulation without physically contacting copper strands. | Micro-coaxial wires, medical-grade PTFE/Teflon, fine wire (< AWG 32). | Pros: Zero contact = 100% protection against conductor strand damage. Cons: High capital cost; restricted to specific translucent/organic insulations. |
Cut Length Tolerances vs. Strip Length Tolerances
One of the primary causes of engineering change orders (ECOs) in wire harness production is vague length specifications. Tolerances must be clearly split between overall cut length and strip length.
3.1 Recommended Cut Length Tolerances (IPC Standards)
Engineers should adhere to standard industry tolerances to avoid unnecessary scrap costs during machine setup:
- Overall Length < 250 mm: Standard tolerance is ±2.0 mm to ±3.0 mm.
- Overall Length 250 mm – 1000 mm: Standard tolerance is ±5.0 mm.
- Overall Length 1000 mm – 3000 mm: Standard tolerance is ±10.0 mm to ±15.0 mm.
- Overall Length > 3000 mm: Standard tolerance is ±2.0% of total wire length.
3.2 Strip Length Precision and Crimp Window Compatibility
Strip length defines how much bare copper conductor is exposed for terminal crimping. The strip length tolerance is significantly tighter than cut length (typically ±0.3 mm to ±0.5 mm). Incorrect strip lengths lead to two immediate quality failures:
- Under-Stripping (Too Short): Conductor strands do not extend past the terminal crimp barrel, leading to insufficient contact area, reduced pull-out force, and high resistance.
- Over-Stripping (Too Long): Exposed bare copper extends past the insulation crimp zone, creating short-circuit hazards and failing IPC-A-620 clearance limits.
Quality Assurance & Troubleshooting IPC-A-620 Cutting Defects
Under IPC/WHMA-A-620 Class 2 and Class 3 standards, wire cutting and stripping must pass rigorous visual and mechanical quality checks before proceeding to terminal crimping. Below is an engineering inspection guide for common cutting defects:
| Defect Name | Visual Characteristics | IPC-A-620 Acceptance Criteria | Root Cause & Corrective Action |
|---|---|---|---|
| Nicked or Severed Strands | Individual copper conductor strands are cut, scraped, or missing. | Class 1: Allowed if <10% strands. Class 2/3: Zero nicked/broken strands allowed on high-reliability lines. |
Cause: V-blade cut depth set too deep or incorrect guide tube size. Action: Re-calibrate blade radius using a micrometer feeler gauge. |
| Uneven / Jagged Cut Edge | Insulation jacket shows torn or jagged cut profile. | Non-conforming for Class 2/3 if insulation thickness is unevenly compromised. | Cause: Worn or chipped carbide blades. Action: Replace cutting blades after recommended maintenance cycles (e.g., 500,000 cuts). |
| Frayed Strands (Splayed Wire) | Copper strands untwist and spread outward after stripping slug removal. | Conductor strands must maintain original lay/twist. Splitting hinders automated terminal insertion. | Cause: Excessive pull-off friction from the stripping slug. Action: Enable automatic wire twisting option on Cut & Strip machine. |
| Insulation Thermal Damage | Charring, melting, or discoloration around the strip line. | Defect for all IPC Classes if insulation properties are compromised. | Cause: Overheating during thermal laser stripping. Action: Adjust laser pulse duration and air assist pressure. |
DFM Guidelines for Engineers: Optimizing Designs for Automated Cutting
Design Engineers can directly influence harness manufacturing efficiency and cost by considering automated wire processing early in the design stage:
- Standardize Wire Gauges & Colors: Limiting a harness design to 2 or 3 primary wire gauges (e.g., AWG 18 for power, AWG 22 for signal) minimizes machine re-tooling, blade changes, and setup scrap.
- Avoid Ultra-Soft Silicone Insulation for Mass Production: While flexible, soft silicone insulation tends to stretch rather than cut cleanly during automated stripping. Choose cross-linked polyethylene (XLPE) or standard PVC where feasible.
- Check Conductor Selection Compatibility: Ensure wire specifications match standard UL/SAE cable standards. For complete wire selection criteria, refer to our guide on What Is Harness Wire? A Complete OEM Purchasing Guide.
Frequently Asked Questions (FAQ)
Q1: Why is laser wire stripping preferred for fine wires or medical harnesses?
A: Laser strippers melt the insulation reflector without physical contact, completely eliminating the risk of nicking microscopic copper strands on high-density or micro-coax cables.
Q2: Does wire cutting length affect signal integrity in high-speed harnesses?
A: Yes. For differential signal pairs (such as Ethernet, CAN bus, or USB), length matching between twisted conductors is critical. A length mismatch introduces signal skew, reduced noise immunity, and high electromagnetic interference (EMI).
Q3: What is the difference between full stripping and partial stripping during cutting?
A: Full stripping completely removes the insulation slug from the wire end. Partial stripping leaves the severed insulation slug partially on the conductor tip to protect copper strands from fraying or oxidizing during transport before terminal crimping.
Key Takeaways
- Critical Process Base: Automated wire cutting and stripping establish length accuracy and conductor integrity for all downstream assembly.
- IPC-A-620 Compliance: High-reliability applications demand strict adherence to zero strand-damage standards during stripping.
- Design for Automation: Standardizing AWG sizes and allowing realistic IPC length tolerances reduces unit cost and shortens lead times.
- Interactive Profile: Need to define complete specs before submitting an RFQ? Try our interactive guide: What Wiring Harness Do I Need? Key Factors for OEM Buyers.